 Scan QR Code

Are you ready to unlock the full potential of screen recording for Windows and Chrome browsers? We are thrilled to introduce our cutting-edge Chrome Screen Recorder, designed to provide a seamless and feature-rich experience for all your recording needs. In this guide, we'll walk you through the steps to make the most out of our Screen Recorder, whether you're on a Windows machine or using Google Chrome as your browser.
Before we dive into the details, let's explore why our Screen Recorder is the ultimate choice for your recording needs:
Now, let's get started with our comprehensive guide.
1. Install the Chrome Extension: Visit our Chrome screen recorder page and then click one the download for free. Head over to the our Screen recorder Chrome Web Store page and Click 'Add to Chrome' to install it.

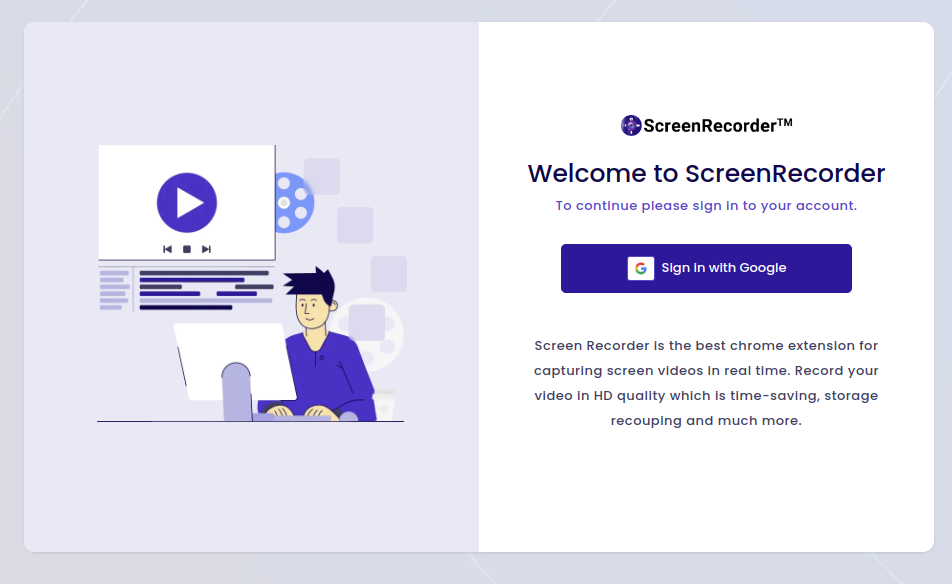
2. Sign Up or Log In: If you're not already a user, sign up for a Screen Recorder account. If you are, simply log in to get started.

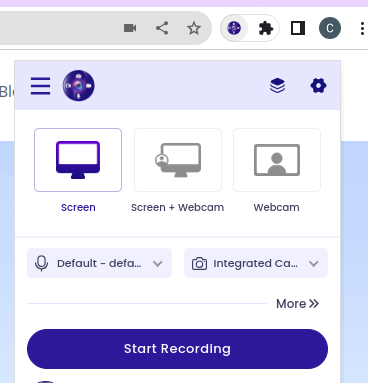
3. Launch the Extension: Open Chrome and click on the Screen Recorder extension icon in your toolbar.

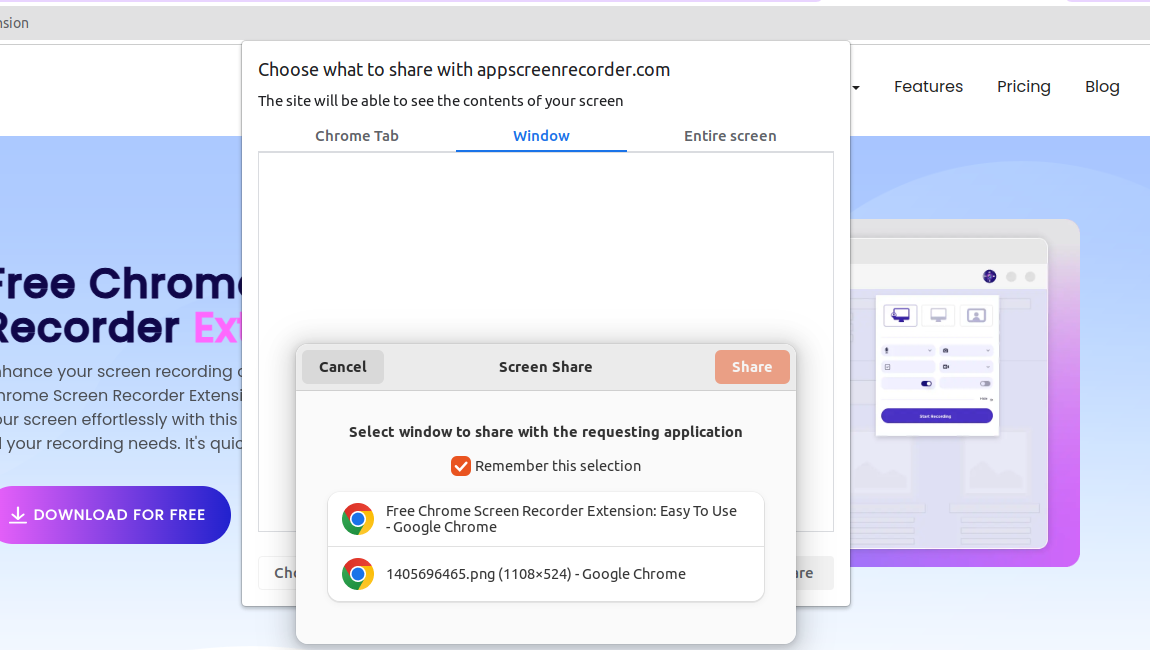
4. Configure Recording Settings: Before you start recording, configure your settings. Choose the recording area, audio input, and webcam overlay options.

5. Start Recording: Hit the 'Record' button to begin capturing your screen. The extension provides a seamless recording experience, even for those new to screen recording.

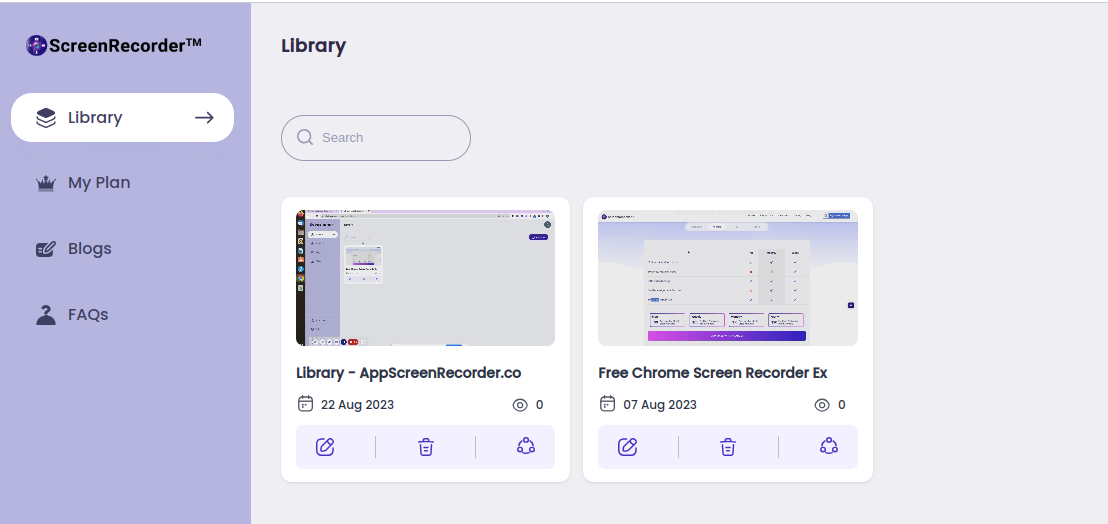
6. Access Your Recordings: Once your recording is complete, head over to your 'Library' within the extension to find, manage, and share your saved recordings.

In both cases, our Screen Recorder tool is a versatile tool with endless applications. Whether you're creating content, teaching, collaborating, or gaming, you'll find our Screen Recorder to be an indispensable addition to your digital toolkit.
Don't wait—try out our Screen Recorder today and experience the difference for yourself! Unlock your screen recording potential with ease.
No Comments Yet
Be the first to share what you think!